These days calligraphy has been taking a big chunk of my hobby time, and I feel like I have been gradually improving. However, the other day something strange happened to one of my brushes, and after much research and experimentation I finally managed to solve the issue, so I wanted to talk about this for anyone interested in calligraphy.
The bristles of my brush looked great after washing them, but as soon as I applied ink and drew a single stroke––especially one involving sharp angle changes––they would start to get “spiky”. This is exactly the opposite of what you want in a brush: the bristles to come to a perfect point. I tried washing it under water for a long time, but just couldn’t get it back to a usable state, so I was about to abandon it as a permanently damaged item.
I ended up posting to the Japanese Calligraphy group on Facebook, and within a day or so got a few responses. One of them was this video, which showed a rather lengthy cleaning process. By the way, in Japanese a brush like this is called 割れた筆 (wareta fude). Initially I found this strange because 割れる means “to break”, but it turns out it also means “to split”, which is a more fitting meaning.
Ironically, the cleaning process in this video was quite simple, and I had actually done something very similar in the past with no appreciable result. But I finally realized what I was missing.
Running the brush under water and flapping the bristles back and forth was normally all I did to clean, but it turns out that is not enough in some cases because ink can become trapped in the neck of the brush, where it’s hard to get enough water in. There are a few ways to clean this, but the way I found most effective was tightly grabbing the bristles right next to the neck (farthest from the tip) with two or three fingers, and then moving it around in a circular motion. If you do this for a spiky brush, eventually you will see drips of ink come out. After that happens, you should first rinse the brush under running water, and then repeatedly tap the brush onto a surface where water is running (or inside of a bowl of water) to help the ink come out. Then repeat the process.
The problem I had was that I hadn’t done it enough times to really get the caked ink out of the neck of the brush. And you can’t just do it a specific number of times. Really the only effective way is to see when the above process stops yielding ink, both the grabbing/spinning part and during the part where you tap the brush onto a wet surface. If you find it hard to tell when ink is flowing out through the water, you can use a clear bowl as is shown in the video I referenced above. The advantage of that is the ink build-in will eventually cloud the water to a level that you can easily perceive with the eye.
When I tried this process again after watching that video, I just kept doing this until ink had completely stopped coming out. I think it took at least 10-20 minutes, and my fingers were sore after the effort. But when I finally tried drawing with the brush, it was a miracle: the brush was back to normal with no spiky-ness.
Now when I wash my brush after a session I do this process a few times as maintenance so that ink doesn’t get built up inside, and so far the problem hasn’t occurred again. Initially I had concerns this might damage the brush, but after doing this a week I haven’t seen any negative effects. Having said that, for new brushes I will probably skip the part where I grab the bristles, or do it very lightly.
By the way, you might think that a better solution is simply not getting ink inside the neck by applying it only to the part of the brush that is away from the neck. But from what I’ve learned it’s actually good to get ink on all parts of the brush. Not only does it make things flow smoothly, but it also lets you have a better chance to finish a character without getting more ink.
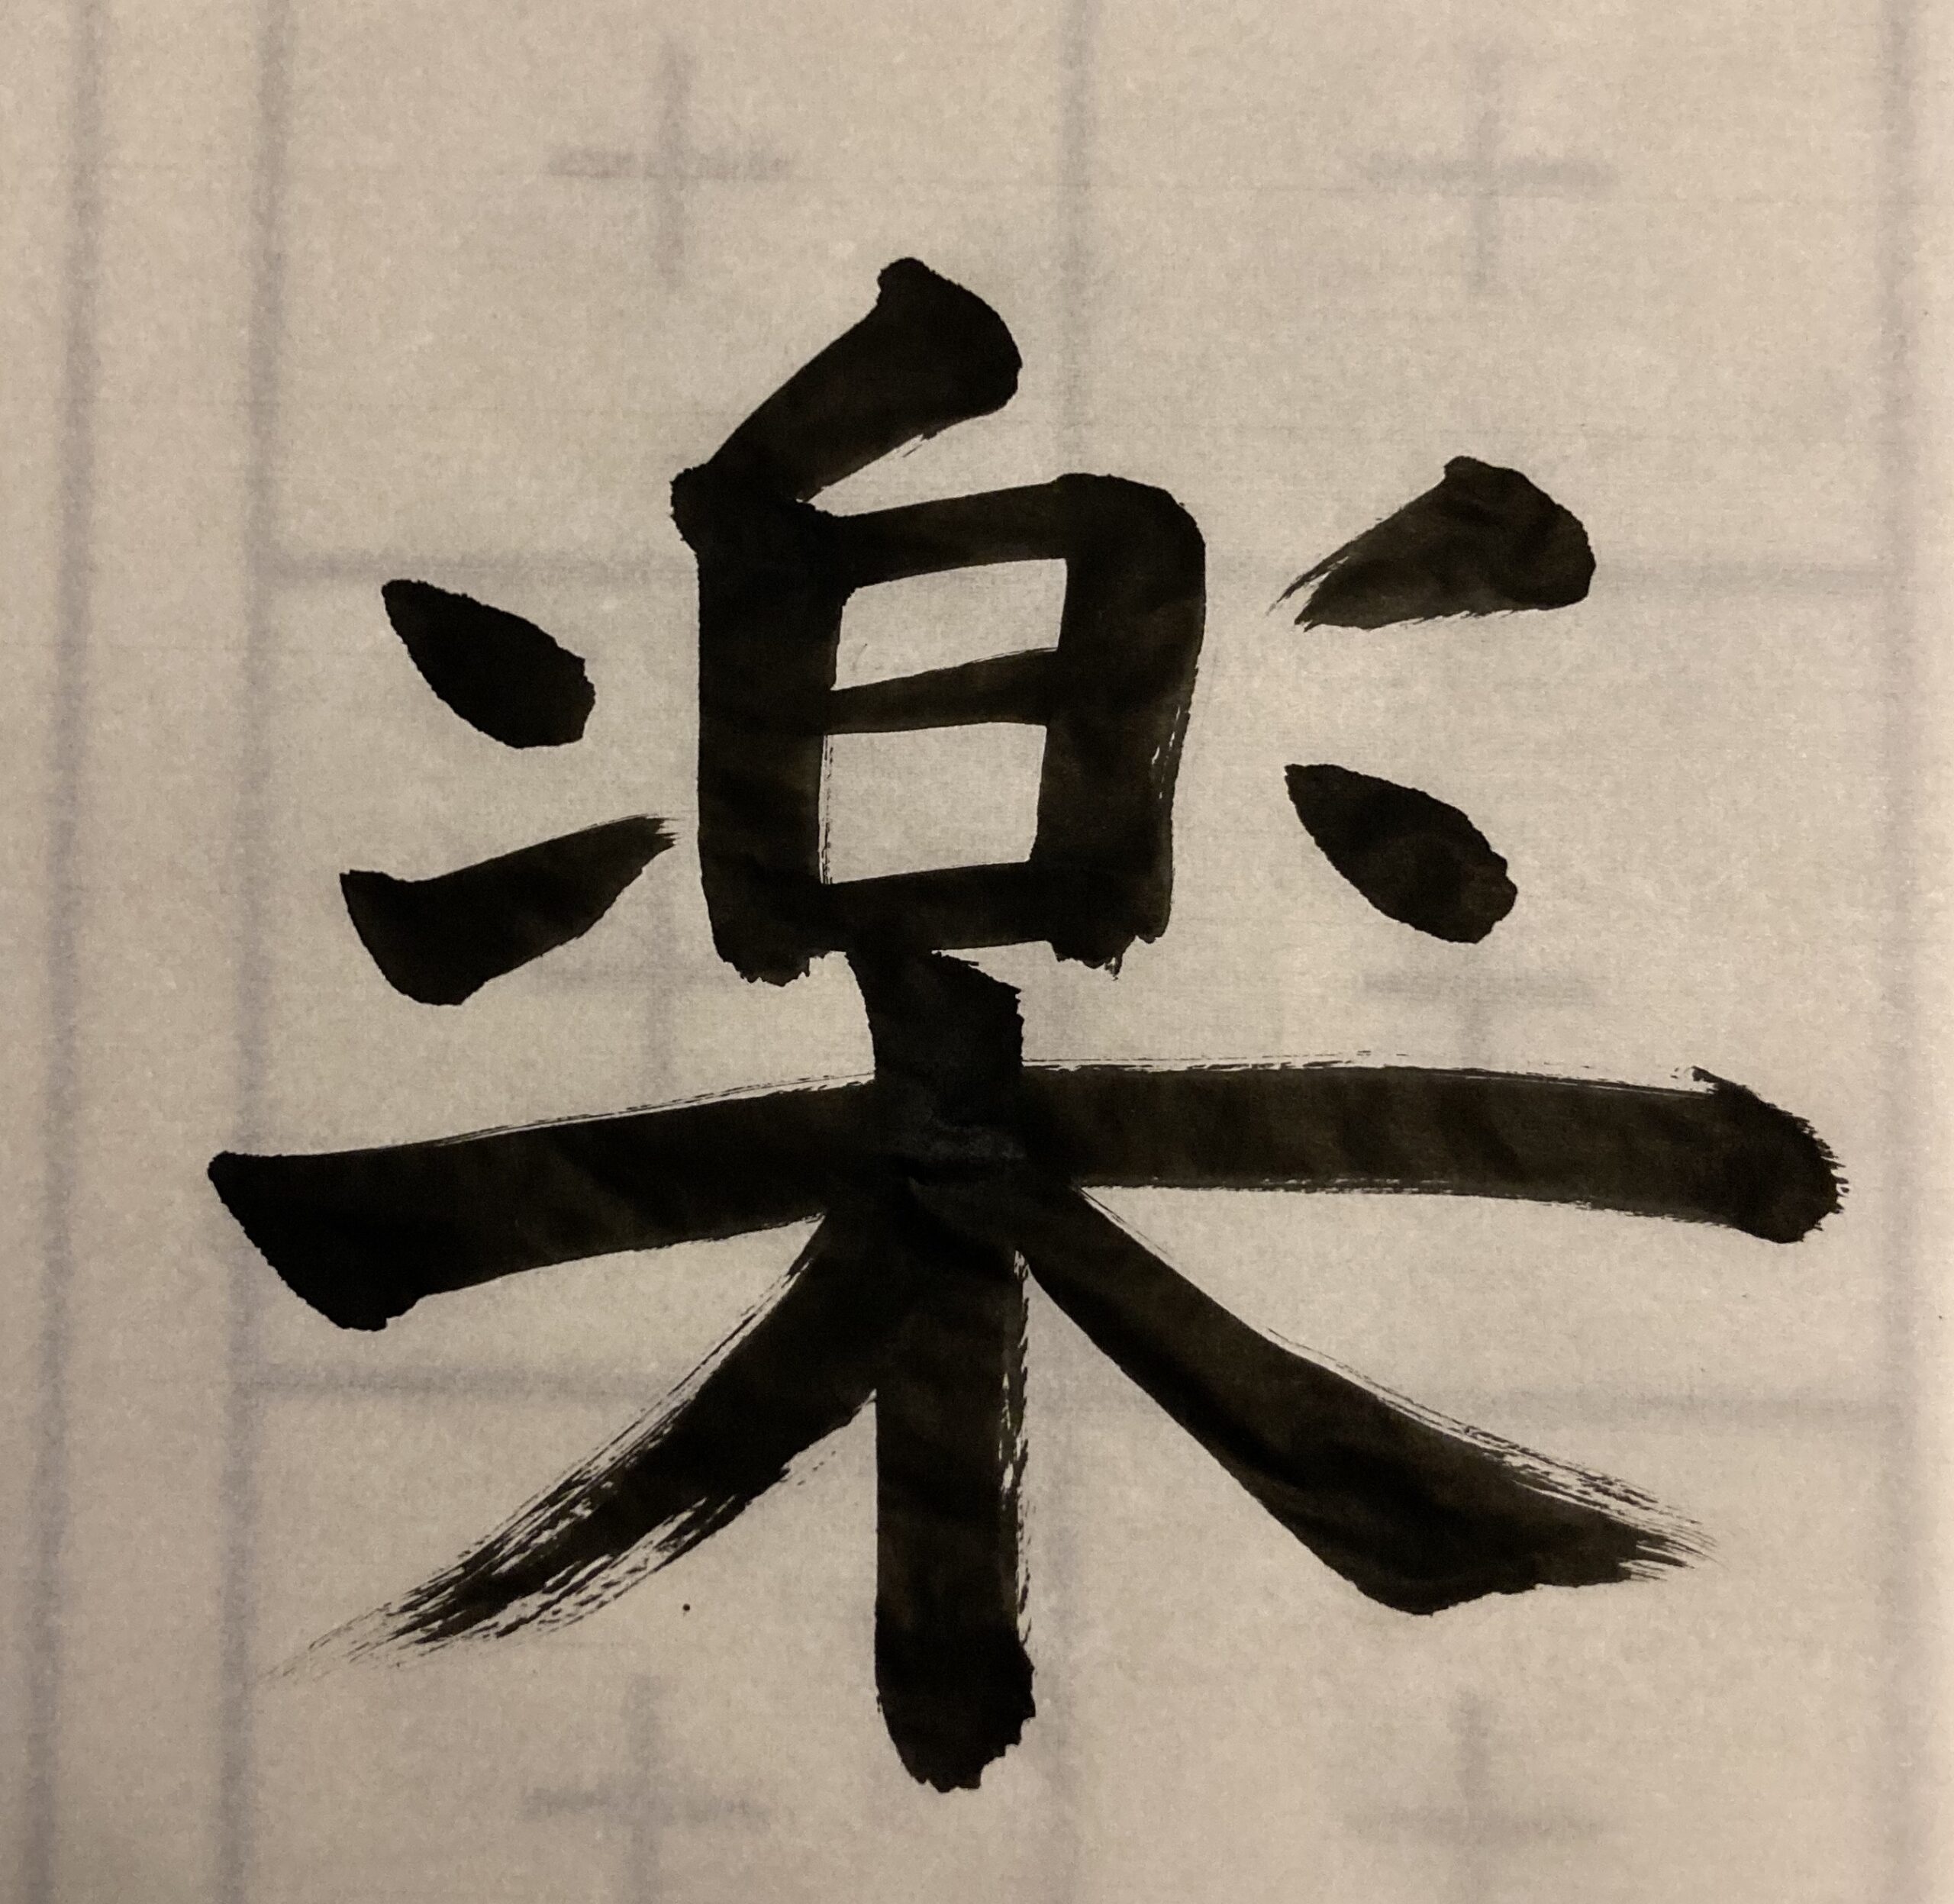
Into calligraphy yourself? Feel free to link to your work in the comments. Here’s a character I’ve written soon after fixing the brush:

And here is one I did a few weeks later: (one of my favorite renditions so far)